Friday, December 26, 2014


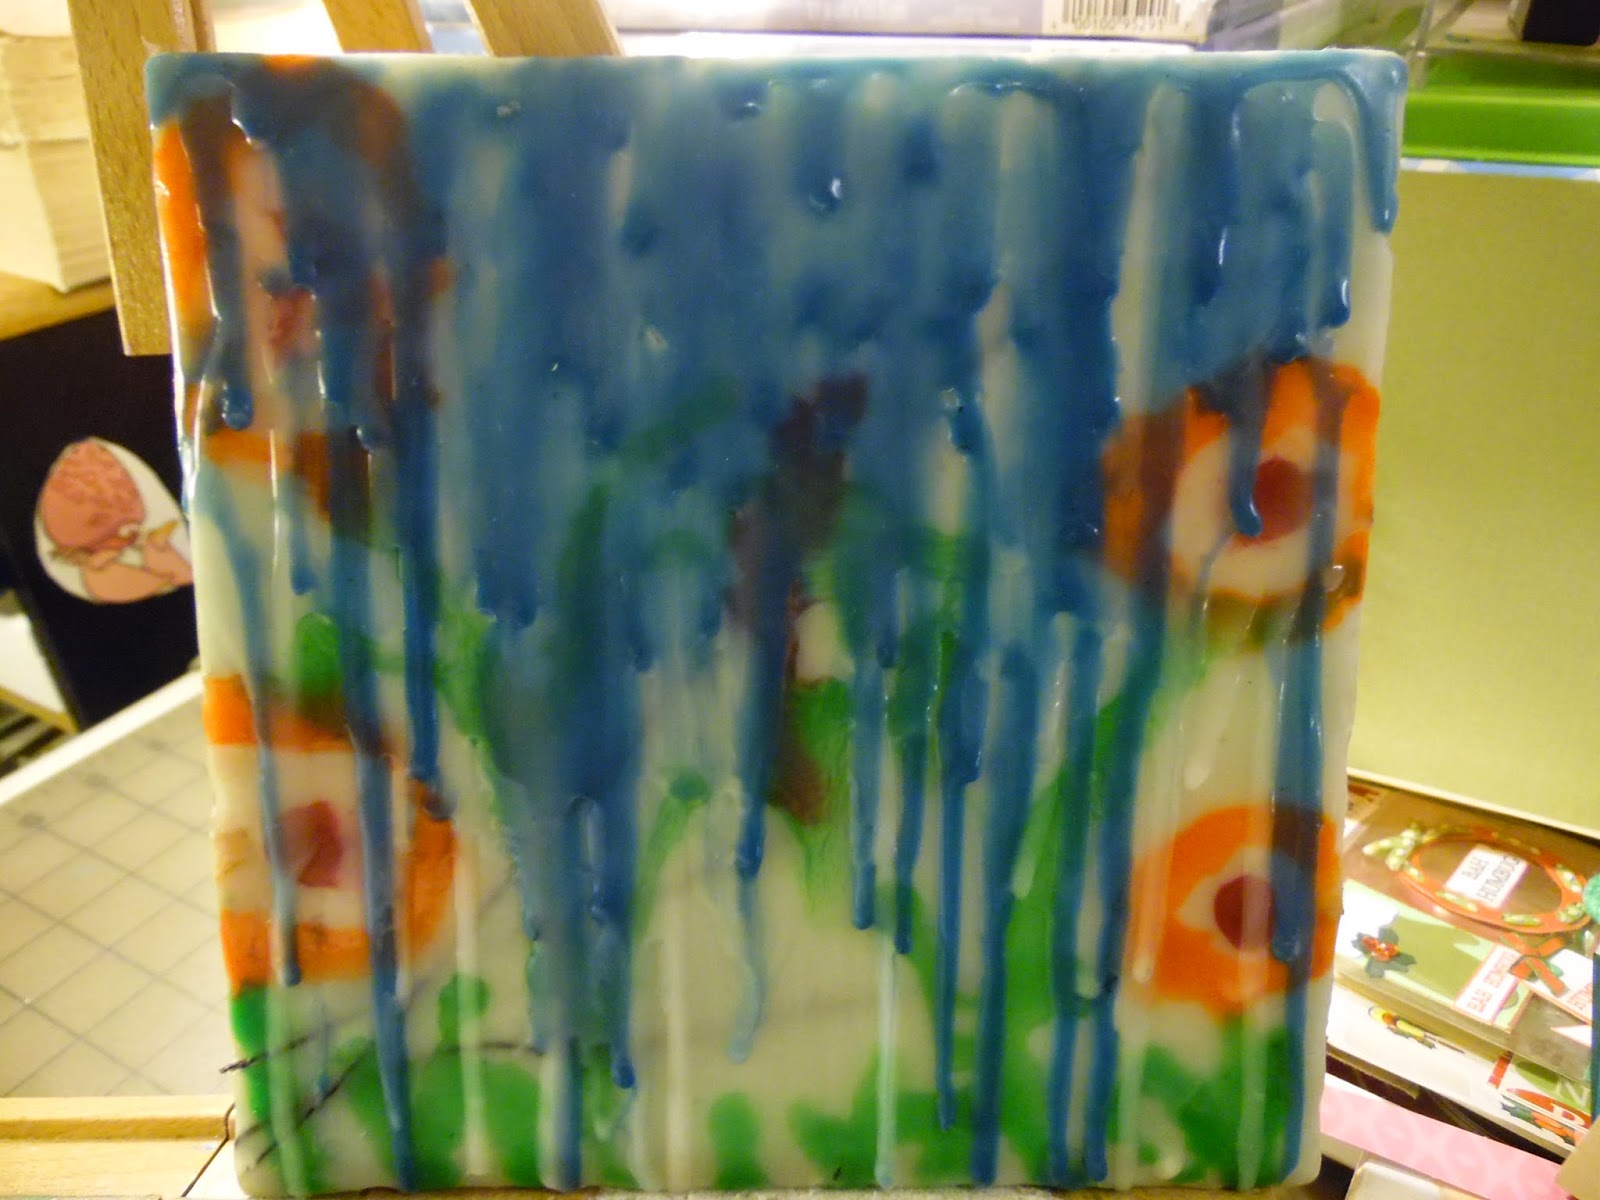
Encaustic Painting. These are some Encaustic paintings that I have dabbled in. Encaustic painting is done with beeswax. I love the freedom of what happens when working with wax. I have done quite a few and each one turns out awesome even without a plan. As you can see I love drippage! 
My daughter found some 16X20 painted canvases for next to nothing at a yard sale.. She knows I love re-doing things so she picked up a stack of them for me. I paint over them with Gesso and then I just do stuff to them. This one I named "Sing... even if off key" I layered a few paints etc and kinda like the way it turned out. I am thinking it may still need something to finish it but I will just let it hang around a while and see if something comes to mind. Otherwise it will just hang around like this forever! I don't claim to be an artist.. I just do stuff to keep myself off the streets and out of the saloons! 
I see it has been a coons age since I have entered anything into my blog. That does not mean I have been lazy.. it means that I have been busy, busy, busy! I craft in some way or another every day of the week. I look at other blogs and get new ideas and start new projects! I am in love with paper, glue. scissors. paint, gesso, canvas, just EVERYTHING. I am thinking that I am going to be taking more photos of my "Things" and posting them here even if it is memories for myself!. I LOVE to create! REALLY!.. I think I will now walk around my studio with my camera and I will be right back with a collage of photos... so sit tight... I will be back...

Sunday, August 3, 2014

Today I finished this Falling Photo Box and really like how it turned out. I made it using the tutorial from
 "The Gentleman Crafter" .. 
I love his work so much.
 Enjoy the pictures!
 This Falling Photo Box is about 6 inches from front to back, 8 inches wide and  6-1/4 inches tall. 
The metal hardware is from the Tim Holtz line.  This hardware gives this photo box a nice vintage look.
 I made the closure using a 1-1/4 inch grosgrain ribbon.
 There is a belt buckle to hold the ribbon belt closed. This is for decorative purposes as the photo box will stay put even without it. I like the look of having the belt.
 This is what you see with the belt and the lid of the box removed.
 On the inside of the front panel of the box is a photo mat for you to add a 4x6  photo or for you to put a title for the photos it will hold.
 This is the photo box as it looks when completely flat. There are 18 sleeves, 9 on each side that each hold a tag which is 4-1/2 by 6-1/4 inches. The actual pocket is 6"x 4-3/4".  You can attach a photo to each tag with the description or journaling on the flip side. Photos can also be affixed to the pockets to afford more photo space. 
On the back panel of the photo box is 8 more flaps that are 6-3/4" x 4-3/4" to hold even more photos or journaling. 

Thank you so much for taking the time to look at my work. I enjoy my time creating these Memory items. I am now starting on one of these boxes in a baby girl theme. I think this will be fun!  
Scrappinlizzi
Friday, July 18, 2014

This is a stand up graduation card I made for my grandson when he graduated from Kindergarten.. 

Sunday, July 13, 2014

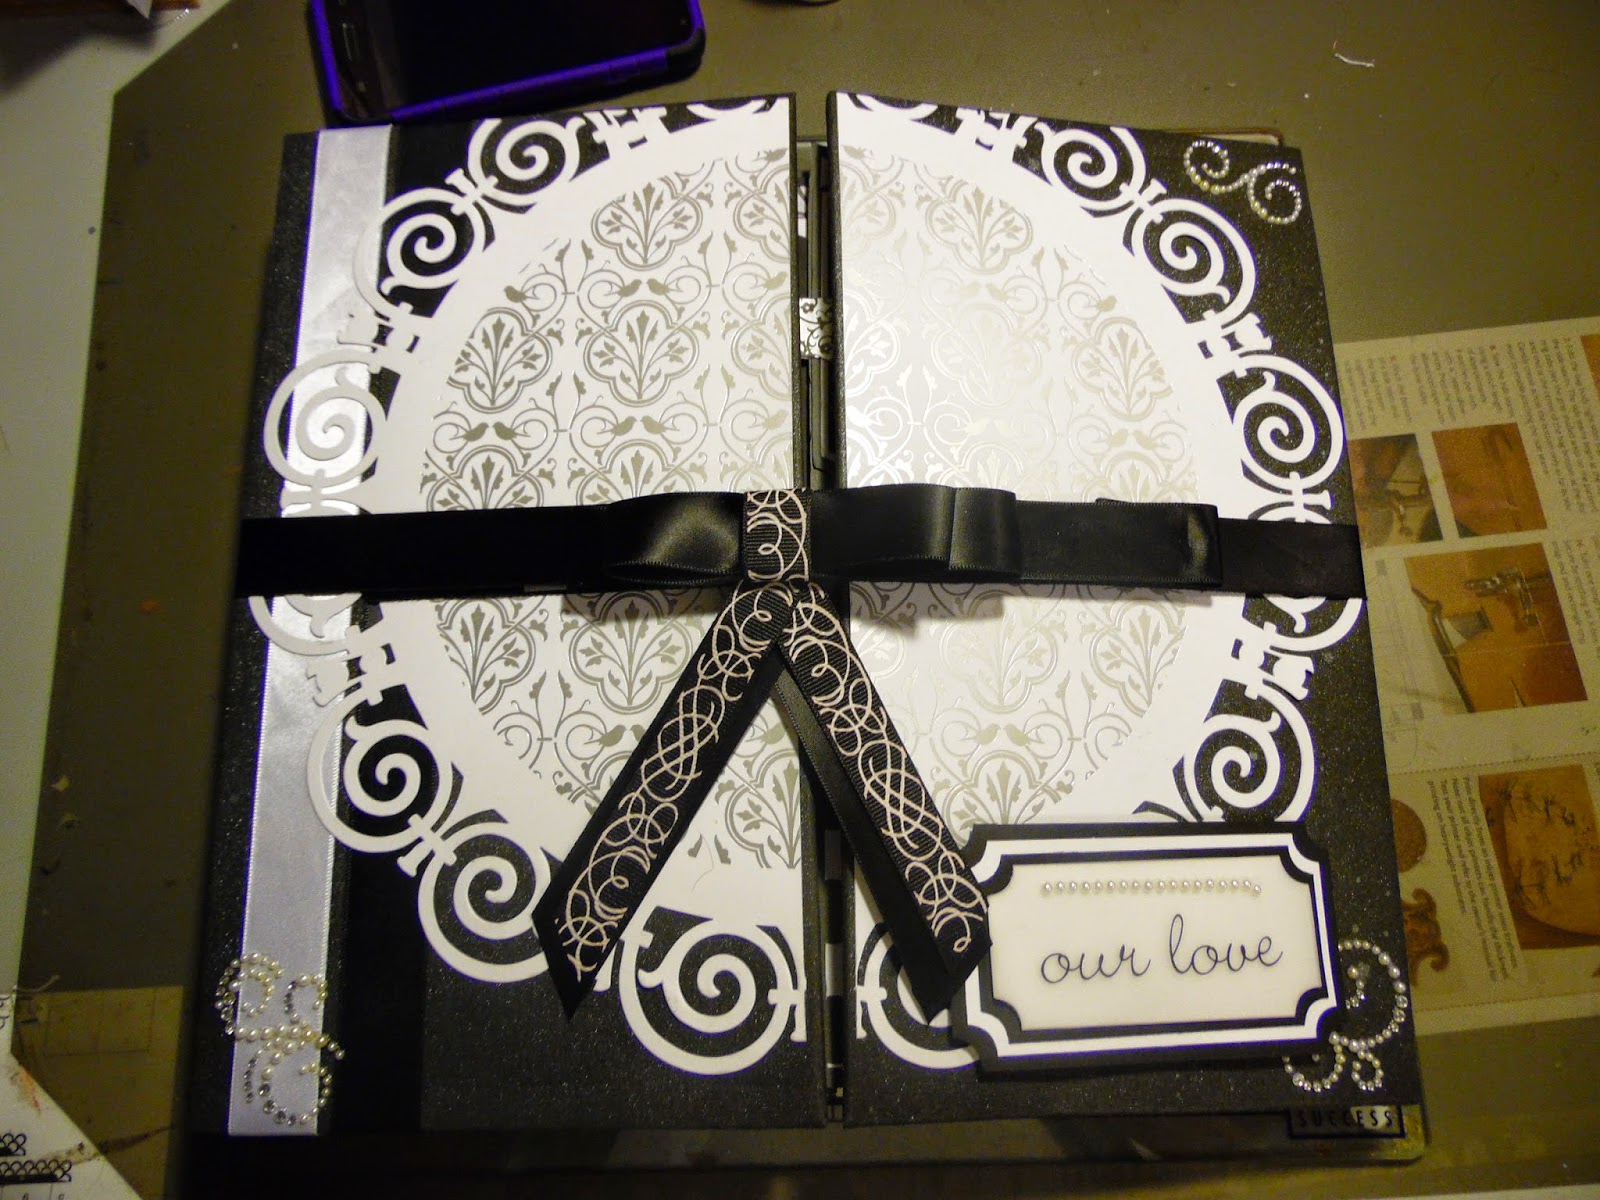
Today I am starting to re-do my blog because I really got lost in the last one!  So first things first and that is to post a Wedding album that I just finished. I believe it turned out well. This is the first album I tried with an accordion binding. I like it. So let me know what you think.  Hopefully I will be able to transfer my work from my last blogspot to this one.. Ya never know what new tricks you can teach an ol dog! so anyway.. enjoy!

 The total size of the album is 12 inches wide and 11 inches tall. There are about 62  6"X4" photo mats that can be used to display photos or journaling memories to last a lifetime. 

 The inside of the front covers each have 11 photo/journaling mats.
Tags inside this pocket..